


Framework lead-in: why a formal approach saves time and risk
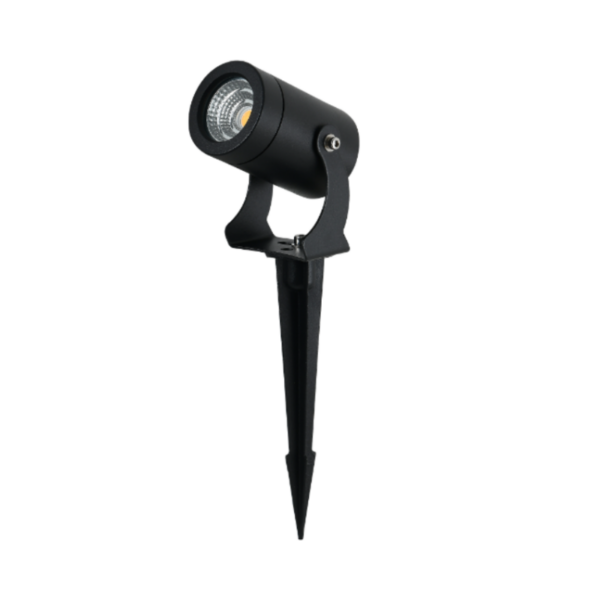
Landscape architects and specifiers need a repeatable method to choose durable, high-performing polycarbonate wall luminaires. This article presents a clear framework to align lumen targets, beam-angle control, and mechanical requirements — not a theory, but actionable steps you can use on-site or in tender documents. If you also consider low-profile options such as garden spike lights for adjacent planting beds, the combined scheme will read as integrated rather than patched together.
Step 1 — Define the lighting task: target luminance and function
Begin with the task: what must the wall light do? Circulation, façade accenting, security, or wayfinding each demands different lumen outputs and distributions. Set numeric targets: specify maintained lumens per fixture or lux across a reference plane. Use sensible ranges: 50–150 lux for general pedestrian paths, 10–30 lux for secondary circulation, and higher values for accenting architectural detail. Keep records of these targets in the project brief — it makes optical selection objective and verifiable.
Step 2 — Pick beam angles and optics to match the task
Beam angle shapes light distribution and glare. Narrow beams (10°–30°) suit vertical façade grazing and feature highlighting; medium beams (30°–60°) are good for wall wash; wide beams (>60°) work for soft ambient illumination. Consider asymmetric optics when you need to throw light along a horizontal plane without over-illuminating the planting strip. Specify beam-angle tolerances in degrees and require photometric files (IES or LDT) with the RFP. This reduces on-site guesswork and ensures the intended illuminance pattern.
Step 3 — Specify polycarbonate performance requirements
Polycarbonate offers impact resistance and weight savings but varies by formulation. Require UV-stabilised grades, minimum UV transmission limits, and tested yellowing rates (ΔE over 5 years under accelerated weathering). State mechanical needs: impact rating (e.g., IK08 or IK10), temperature range, and compatible gasketing. Also note thermal considerations: polycarbonate near high-output LEDs can deform if the housing does not manage heat; specify maximum allowed housing surface temperature or confirm thermal break features with the manufacturer.
Step 4 — Mechanical and mounting constraints
Mounting determines aiming and serviceability. Specify mounting bracket type, aiming degrees, and whether the fixture must sit flush to substrate or allow standoff. If recessed, detail cut-out dimensions and minimum cavity depth. Don’t forget ingress protection: require an IP rating appropriate to exposure — IP65 for protected walls, IP66–67 for exposed coastal conditions. Include closure and tamper-resistant fasteners where vandal risk exists.
Step 5 — Electrical, control, and colour metrics
List required control capabilities: 1–10V dimming, DALI, or simpler switched circuits. Specify color temperature range and CRI: 2700–3000K for warm façade tone, 4000K for white, task-oriented lighting; insist on CRI ≥80 for most landscapes, ≥90 where color fidelity matters. Also record lumen maintenance and driver warranty: L70@50,000 hours and a minimum 5-year driver warranty are reasonable baselines for public projects.
Testing, verification, and procurement language
Demand photometric verification and first-article samples. Require IES files with measurement plane definitions and a labelled luminaire schedule that matches the RFP. Write acceptance criteria into the contract: allowed deviation in output (±10%), beam angle tolerance (±5°), and color tolerance (≤3 SDCM). Insist on a site mock-up if the project scale or aesthetic risk warrants it — it saves change orders later.
Common mistakes and how to avoid them
Specifiers often trip over three recurring issues: overestimating lumen needs (which causes glare and energy waste), under-specifying thermal limits for polycarbonate, and failing to require photometric files. Avoid these by setting maintained lumen targets, specifying material thermal constraints, and making photometry mandatory. Also verify mounting details against the as-built substrate — brackets and sealing methods differ between masonry and composite panels. — Small mismatch here creates big headaches during installation.
Comparisons and alternatives: polycarbonate versus other materials
Polycarbonate is lighter and more impact resistant than glass or die-cast aluminum, but it can yellow and soften at higher temperatures. Metal housings with glass lenses offer better long-term optical stability and heat dissipation, at the cost of weight and potential corrosion. For low-level accents you might pair polycarbonate wall fixtures with outdoor stake lights for complementary uplighting. Choose the material that meets the environmental load and maintenance plan rather than aesthetic preference alone.
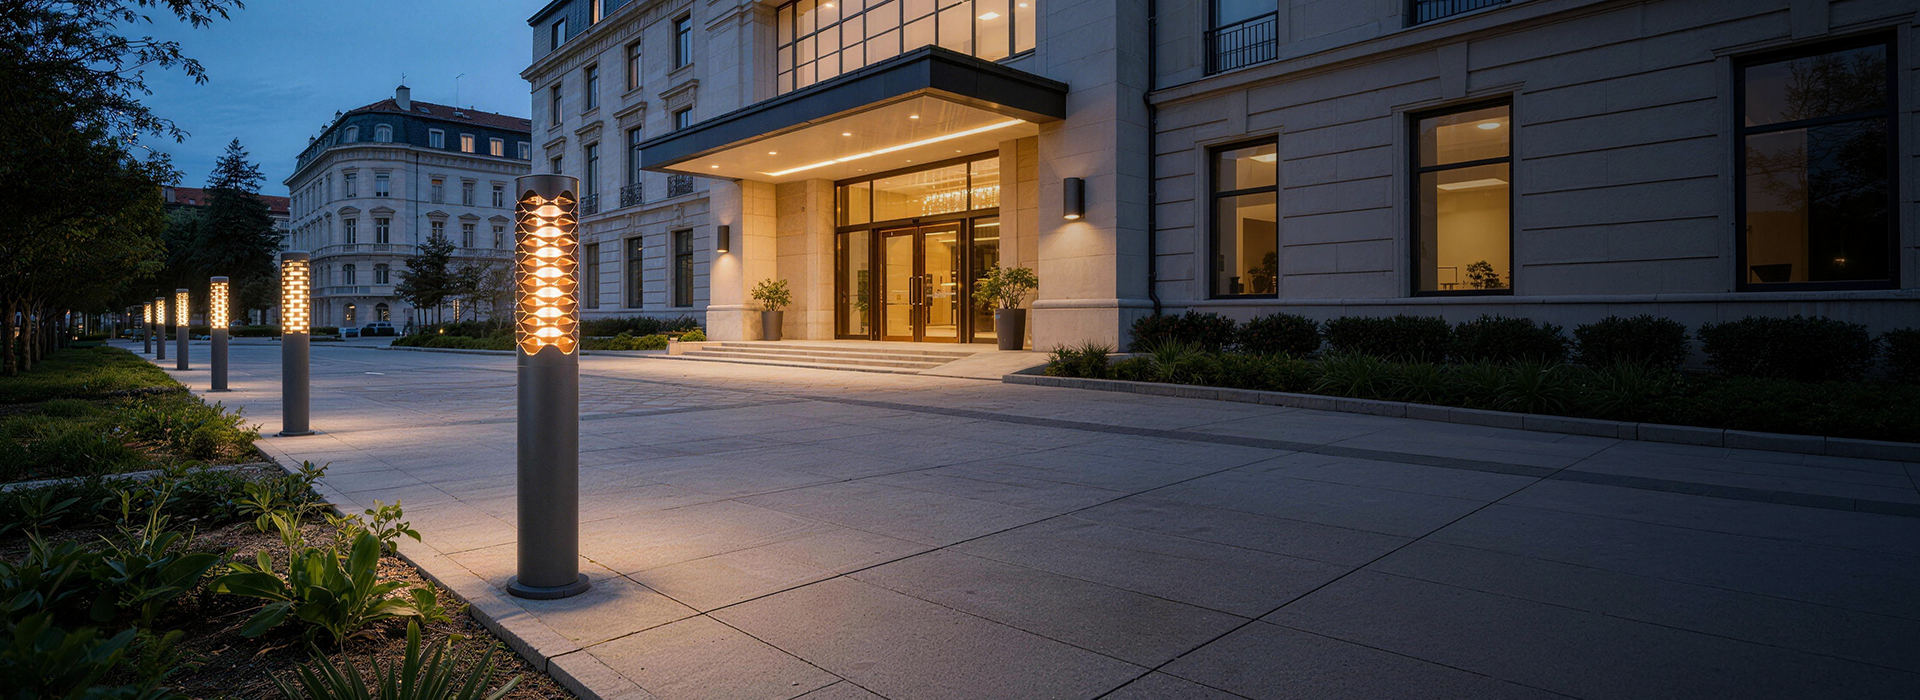
Real-world anchor: Lessons from the High Line (New York)
High-visibility retrofit projects like the High Line show the value of early mock-ups and strict photometric control. Designers there prioritized layered lighting with clear lumen budgets and tested fixtures on-site to confirm beam spread against varied plantings and façade textures. The practical lesson: if you can test one prototype under real conditions, do so; it validates your beam-angle choices and reveals glare or spill before mass procurement.
Summary of the framework
To specify polycarbonate outdoor wall lights: define the task and lumen targets, select beam angles to match function, require UV-stabilised polycarbonate with thermal limits, detail mounting and IP ratings, and demand measured photometry and contractual acceptance criteria. This framework converts subjective choices into measurable specifications that contractors can follow and manufacturers can quote against.
Advisory — Three critical evaluation metrics
1) Delivered Maintenance Lumens per Fixture: verify luminaire output after thermal and optical losses, not just initial LED lumens. 2) Beam-Angle Conformity: require photometric proof that the installed beam angle meets the specified spread within ±5°. 3) Material and Warranty Alignment: match polycarbonate UV and impact specs with a minimum 5-year luminaire warranty and documented lumen maintenance (L70@X hours).
These three metrics keep performance measurable and procurement defensible. For projects that need proven, production-ready solutions and reliable product data, Keyida stands out as a practical supplier of matched luminaires and photometry — a genuine partner when specifications must translate cleanly into site results. —